Friday, November 14, 2014

Cheeseburger Chili

Good evening everyone,

This is Stephanie from Kicken Confections about to post a recipe done at the last minute and it coming out very delicious. We all know how the cheeseburger soup has become very popular this days and I was actually going to try a slow cooked version of it from Pinterest but that didn't turned out as I wanted. I had all the vegetables, stock, and spices ready in the slow cooker, set it up on high and I left to let it cook for 4 hrs. Yeah that was a fail. I never realized the slow cooker was not plugged in so 3 hrs later I go to taste it to see if it needed anything else, yeah.... no it was still raw.

So after almost blowing a fuse for not paying attention, being 4:30PM, to late to cook it for 4 hrs in the slow cooker, I decided to throw everything on a pot and cook it that way. I say that was the best decision I made. It was literally ready to eat by 5:30 PM. So the reason I call it Cheeseburger chili is because of the consistency. Its as stick as chili, and I added a touch of hot sauce to give it that little kick in the back of the throat. I've had cheeseburger soup before and not to brag or anything, but this version is awesome.

Cheeseburger Chili

 Ingredients:
- 2 Lb uncooked beef, 80/20 (80% beef, 20% fat)
- 1 Whole onion
- 4 red skin potatoes, peeled and medium diced
- 3 celery stalks, diced
- 3 carrots, peeled and diced.
- 4 Tbsp Olive oil
- 1/4 cup flour
- 1 cup of milk and 1/2 cup Half and Half, warmed
- 4 cups of chicken broth
- 1/4 cup sour cream
-  2 cups Velveeta  shredded cheese
- 1-8 oz extra sharp cheese, cubed
- 2 cups shredded lettuce
- 3 tomatoes, seeded and medium diced. 
- 1 Tbsp Worcestershire sauce
- 1 Tbsp A1 sauce
- 1 can of mushrooms
- 1 Tbsp dry oregano
- 1 Tbsp garlic powder
- 1 Tbsp dry mustard powder
- 1 tsp cumin
- 1 Tbsp of Franks Red Hot Sauce
- Salt and Pepper TT (to taste)

Procedure:
1) Add the potatoes, carrots, celery, onion, chicken stock, oregano, cumin, dry mustard powder, and garlic powder to a pot, and bring to a boil. Once it boils, bring it down to a simmer, about 30 min.

2) In a saute pan, add a little bit of oil, when the pot is nice and hot, brown the ground beef, season with salt, pepper, Worcestershire sauce, and A1. Strain and add the meat to the vegetables and cook for 10 minutes. Clean pan to use later.

3) As that cooks, in another pan, add the  4 Tbsp of olive oil, 1/4 cup of flour and mix until a paste forms and there are no lumps. Add the warm milk mixture and whisk until it starts to thickened and boil for 10 seconds.

4) Add the milk mixture to the beef and veg mixture, add the sour cream and stir. Reduce the heat to low and add the shredded cheese and the cubed of cheese, stirring occasionally to not let the dairy products scorch. 

5) In the pan you cooked the beef, add a small about of oil, and saute the mushrooms. After they start to brown, add the lettuce and tomatoes. Add a small amount of water so the lettuce doesn't crisp up and cook until the water reduces.

6) Add the mushroom mixture to the chili mixture, add the hot sauce and stir, bringing it back to a boil. 

7) Once it boils, turn off the heat and is ready to serve. 

Top with anything your heart desires. We used croutons  but I've heard some people like to use tortilla chips.
Also, remember you can always change up the spiced to your taste, and just like chili, it does taste even better the next day.

One more tip: remember to taste as you go. I was afraid to add salt since most stocks come already season and if I didn't taste it after adding the cheese, my product would have been bland. Always taste as you go.


Sunday, July 20, 2014

Blueberry Peach Cobbler

Hello everyone!

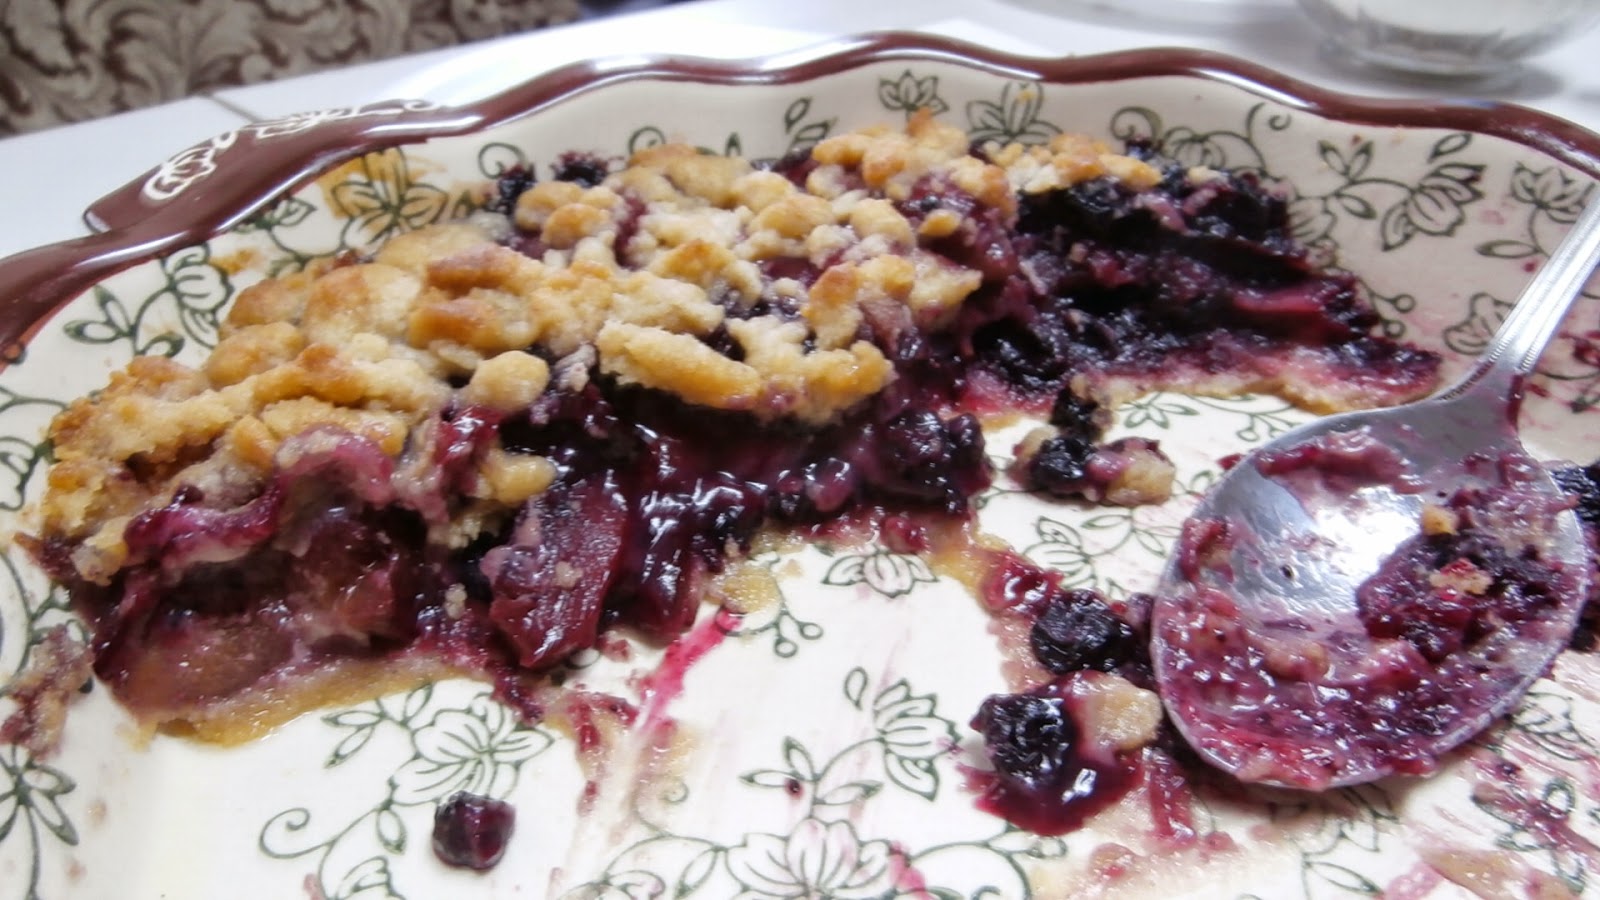
July 15 was my mothers birthday and as the new tradition in our family ever since I graduated culinary school is to bake something for the holidays/ birthdays. Sometimes they ask me for certain things and something I get to do be creative. This year my mom wanted a blueberry and peach cobbler for her birthday. I was rather happy with this choice due to the fact that it is a lot less time consuming than a traditional birthday cake. Not that I don't enjoy making cakes but is fun mixing things up once in a while and is a pretty simple recipe. We hope you enjoy this recipe. Remember you can always customized it to your liking.

We strongly suggest being served warm with a nice scoop of ice cream on top. Delish!

Blueberry Peach Crumble Cobbler

-Preheat oven 400 Degree F

Ingredients:
- 1 pint of blueberry
- 1 pint of peach
- 5 oz sugar
- 1 oz cornstarch
- 1 fl oz water
- 2 oz butter
- 1 tsp lemon zest
- pinch nutbeg

Procedure:
1. Bring 8oz of blueberry and 8oz of peaches to a boil with sugar. 
2. Thicken with cornstarch dissolved in water. 
3. Boil and add butter, lemon zest and nutmeg.
4. Add the rest of the fruits, mix, and fill baking dish with the fruit.
6. Top with crumble and bake for 30 minutes

 Crumble:
-1 1/4 Cup all purpose flour
-3/4 stick of butter, cut into small pieces (6 Tbsp)
-1/4 Cup granulated sugar
-1/4 Cup light brown sugar

1. Mix all ingredients by hand until it forms a nice crumble texture.


*Bakers tip: We strongly recommend using fresh fruits id you are able to. We used frozen and it was to tart without the ice cream.

Thursday, July 3, 2014

Chamomile Nilla Wafers

Good evening everyone!
This post is part book review part putting our slight spin on one of the recipes.
The book is called "Treat Yourself"
By Jennifer Steinhauer.
You can find the book here if you are interested, I strongly recommend it. Treat yourself

So far I really really like this book! It has a bunch of recipes that are about childhood goodies like Twinkies, Oreo's, Twix, and Cheetos' and so much more!

We apologize for not posting the recipe sooner but hearing the storm that was a brewing outside, we decided to turn off the computer.

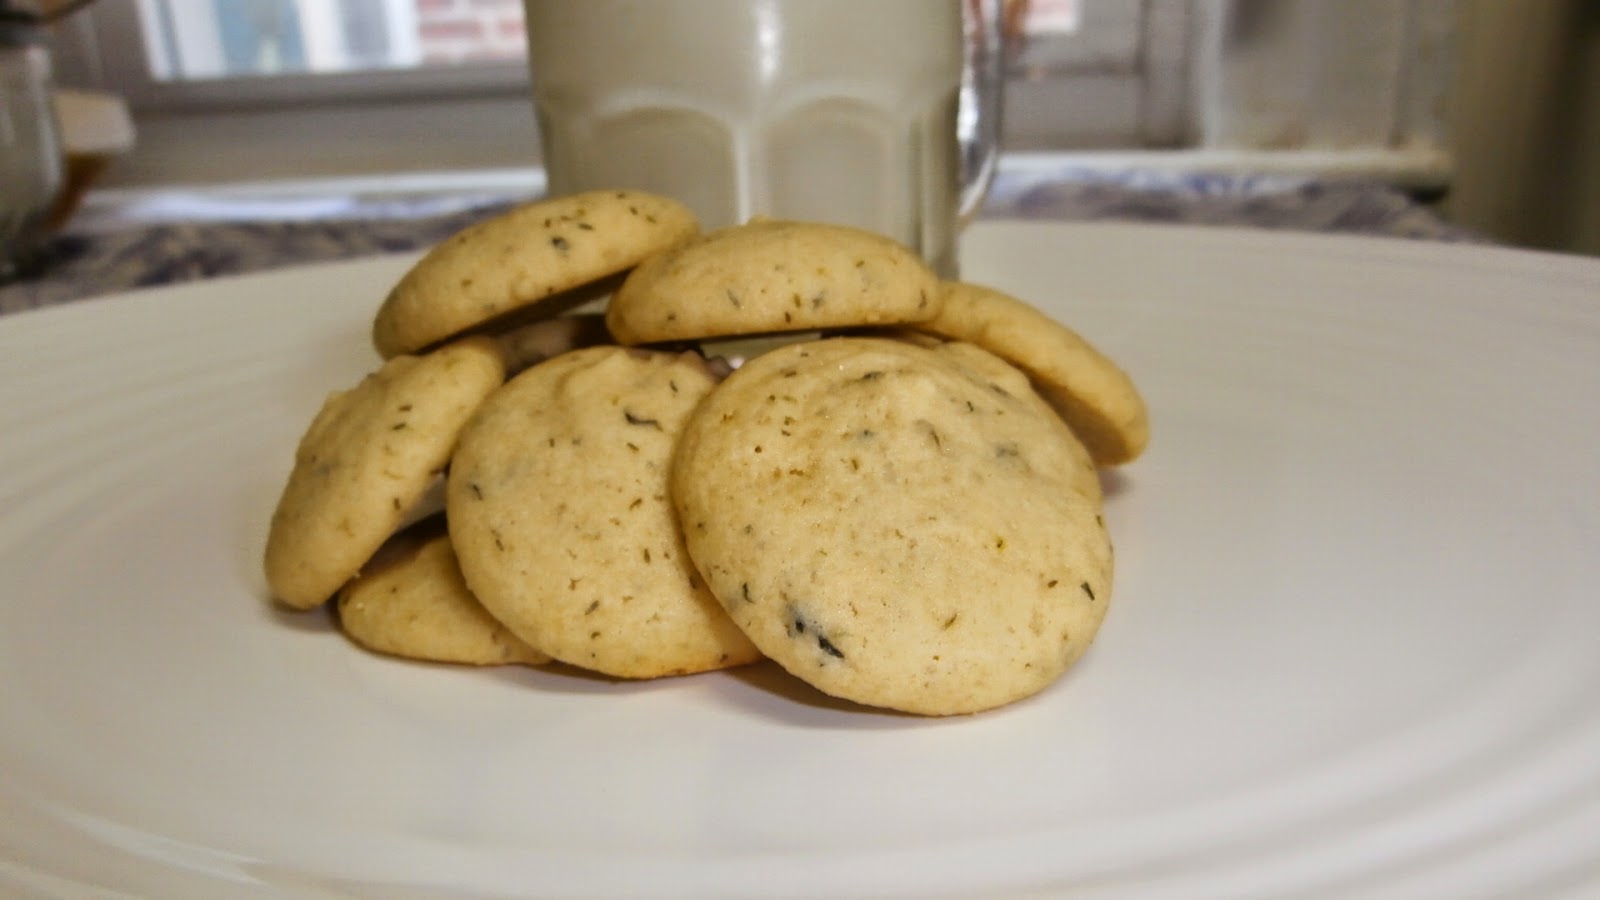
This recipe so far has turned into one of our favorites. The base is based off those classic Nilla wafers you find it your store . The box treat's are golden in color very crumbly and thin with a strong vanilla taste to them. The ones from the book capture the taste almost perfectly. The texture is a bit moister, softer and no offense to the original box type but it doesn't have a bunch of preservatives or other "interesting ingredient's in them." So if you like the taste of these types of cookies without the added stuff  you would probably enjoy the recipe and the book.

Nilla Wafers  
Pre heat oven to 315 degrees
Ingredients:
-1 Stick Salted Butter
-1 Cup Sugar
-2 Large Eggs
-2 Tbsp of vanilla extract
-2 1/2 cups all purpose flour
-1 Tsp baking powder
-1 Tbsp fresh chamomile (what we added)


Procedure
1. Line to baking sheets with parchment paper or a silpat.
2. In the bowl of a heavy duty stand mixer, cream the butter and sugar together on medium speed, until light and fluffy.
3. Add egg one at a time until mix has thicken and pale yellow, make sure to scrape sides and bottom of the bowl. Add the vanilla and chamomile, mix until smooth.
4. Add the flour and baking soda together in a separate bowl then slowly mix the dry  in to the butter mixture until everything is incorporated.
5. Transfer the dough in to a piping bag and make quarter sized rounds of dough , 2 inch's apart .
6. Bake the cookies for18-20 minuets or until golden brown.

* The chamomile added a nice extra dimension to the taste. I would consider this a very good tea cookie or imagine making a banana pudding with these little babies. Very refreshing.


Tuesday, July 1, 2014

Chocolate Delight Muffins

Hey everyone!

Diving in head first into my not so experience world of gluten free baking. My client was really craving chocolate and it had to be gluten free and sugar free. This task was difficult since I am a big believer chocolate and sugar are BFFL's. We basically went with the base of the other muffins but with a few changes that we have posted here before and hoped that it would work out.

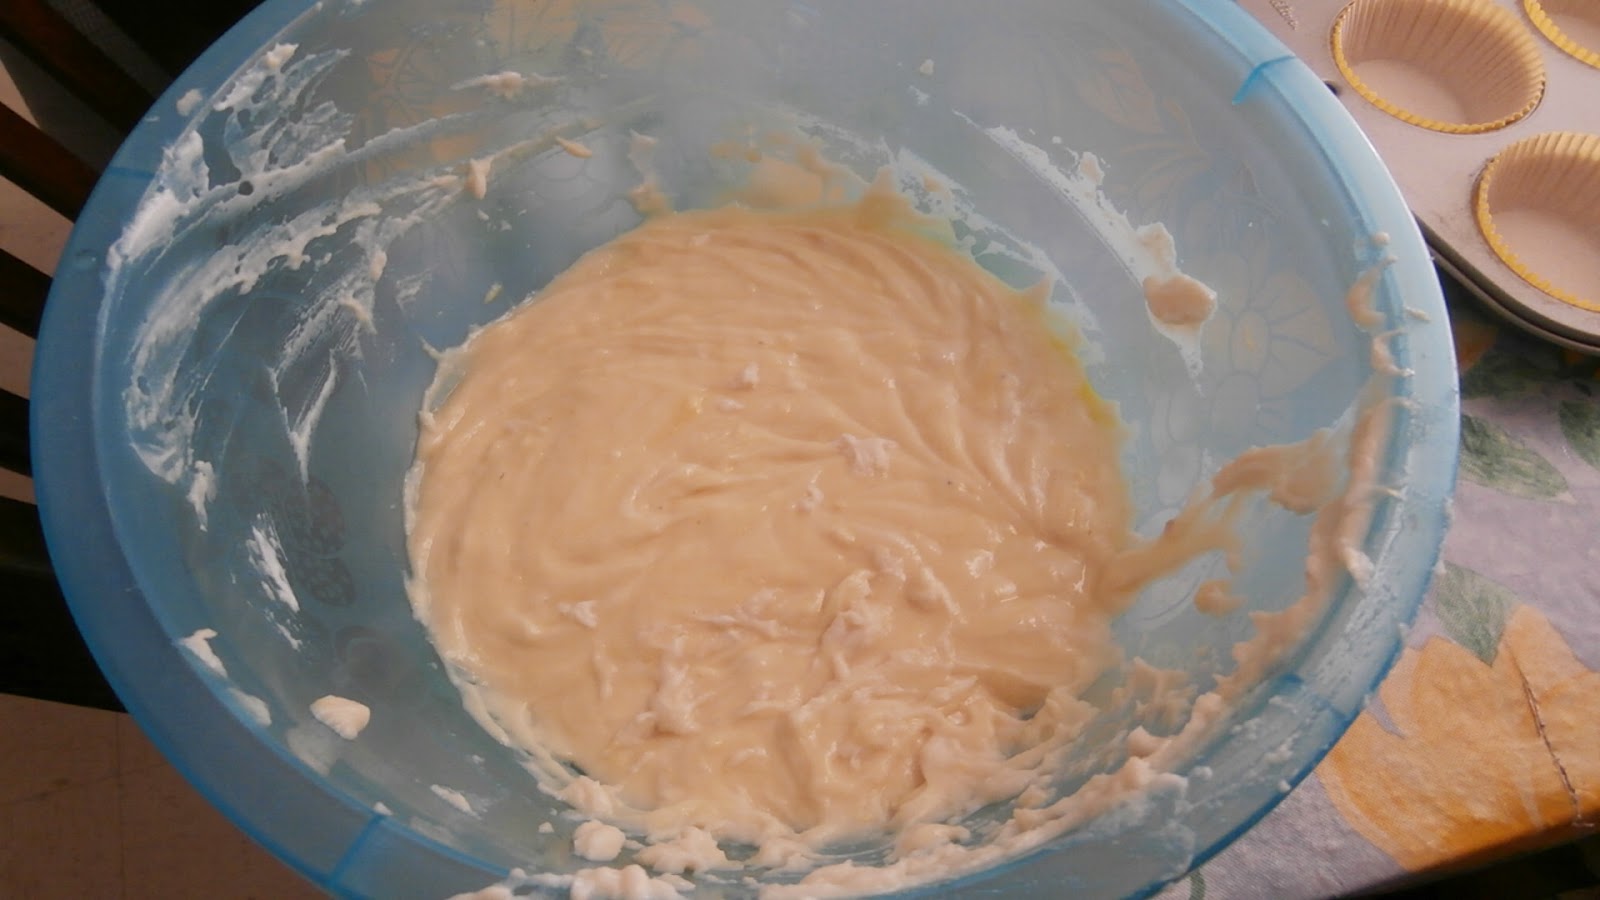
To my surprise, they came out really good. They were moist, fluffy, and risen nicely.

The recipe is simple, easy to put together, and you only need a hand mixer to make it. We hope you enjoy it specially if you're looking for a light on sugar chocolate treat.


Gluten Free Chocolate Muffin       Yield: 15 muffins

Preheat: 350 degrees F

Ingredients: 
 -1 1/2 Cups rice flour
- 1/2 Cup cocoa powder
-2 Tsp baking powder
-1 egg
- 1 1/4 Cup of Chobani greek yogurt
- 2 Tsp Vanilla extract
-2/3 Cups Honey
- 3oz  dark chocolate, roughly chopped (Optional)


Procedure:
1. Add all your dries together.
2. Add all your wets together.
3. Using a hand mixer or a whisk, mix dries into wet until batter is smooth.
4. Place cupcake liners in your standard 12 piece cupcake pan, spray the liner with cooking spray and add one large spoonful of the batter in to each cup. If there is extra batter left, try to spread it out as equally as possible.
5. Bake for 20 minuets or till you the center is not jiggly.


So shiny!


Wednesday, June 25, 2014

Green Market Potato Salad

Good evening everyone.

Today we are going to add our potato salad recipe. We recently got a chance to go to the Greenpoint Brooklyn farmers market in McCarren Park were we got to buy a lot of summer produce. We made our way to the last tent and went nuts. Onions, scallions both white and red (which I have never seen red), Dill, cilantro, carrots, chamomile, chives (which are expensive in the regular supermarket), radishes, long leaf arugula, etc. I got a sniff of the dill and I just got a craving for potato salad.

The reason is called Green Market Potato Salad is because a lot of the ingredients I used in it came from the market, with some pimiento for added taste and color. If you live in Brooklyn or happen to be near the park on a Saturday, make your way to the market. Their products won't disappoint.

Green Market Potato Salad
Ingredients:  *TT= To taste
- 5 Lb  red skin potato, rinsed and cut into fours
- 3 Tbsp of fresh dill
- 3 Tbsp of fresh cilantro
- 2 Tbsp of fresh chives
- 4 Tbsp of Goya pimiento 
- 4 Tbsp of pimiento juice
- 1/4 Cup of sour cream
- 1/2 Cup of Mayonnaise
- Salt and pepper *TT 

Procedure:
1. Bring the potatoes to a boil until tender. I say a good 10 minutes should get them nice and tender, but also it depends on their size.
2. While that is cooking, dice the pimiento,chives, and measure out the juice of the pimiento. Set aside.
3. Mince the cilantro and dill. Set aside
4. Once the potatoes are cooked, carefully drain and rinse in cold water until they are warm.
5. Place the potatoes in a bowl and add all the greens, pimiento and juice. Stir until combine.
6. Add the sour cream, mayonnaise, salt, pepper, and mix well together.
7. Cover and chill in the fridge for a good 2 hours before serving.

You can use less Mayonnaise and more sour cream or visa-verse. Also for a healthier substitute, replace mayonnaise for plain Greek yogurt, and maybe add a little bit of fresh lemon juice.
Also you can always add more or less of the greens to your personal preference.


Enjoy!


Monday, June 9, 2014

Apple Crumble Cheesecake

 Hey everyone Antoinette here and we would love to share this awesome new recipe of ours!

  This recipe came up as a random idea for my Poppas 93rd birthday. It was something different. He always wanted me to make him apple turn overs but I couldn't just make him that for his birthday. He also likes cheesecake so why not combine them both?

My Poppa means a lot to me , He is a WWII Veteran  and a hard working no-frills kinda of guy. I wanted this cake to be special and I wanted him to enjoy every bit of it. Everything on this cheese cake is made from scratch, from the crust on the bottom to the crumble on top of the cake. The cake went over very well. I knew this when my Poppa who eats like a bird went in for a 2nd slice! I really hope you guys enjoy it as much as we did, it was soo good that I'm thinking about making it again for the 4th of July.

Apples
-2 apples (we used golden delicious) but you could use a different type like Granny smith.
-1 Tbsp light brown sugar.
-1 Tbsp granulated sugar
-2 tsp ground cinnamon.
-2 tsp corn starch.
-1/2 tsp ground ginger.
-1/4 tsp freshly grated nut meg.
-1/8 tsp ground clove.
-The juice of half a lemon. 
-A pinch of kosher salt.
-1 tsp of butter.

Apple preparation
1. Peel, core and slice the apples in to medium wedges.
2.Combine apple slices with the sugar,salt and spices, make sure they all get evenly coated.
3. Drain the excess liquid and place the apples with the butter in to a saute pan.
4. Add lemon juice then cook the apples till the become a bit softer and warm.
5. Add the 2 tsp of corn starch mix till it starts to stick to the apples.
Set apples aside till later.

Crumb topping
-1 1/4 all purpose flour
-2 1/2 Tbsp light brown sugar
-1/2 tsp cinnamon
-3/4 ounce butter  (0.75)

Crumb topping preparation
1. Combine all of the ingredients together until it resembles grated cheese.
Set aside till later

Pate Sablee ( bottom crust)
-3 1/2 ounces cold butter cut in to small cubes
-Pinch of salt
-1 1/2 ounces powdered sugar
-1/4 tsp vanilla extract
-5 1/2 ounces all purpose flour
-1   egg yolk

Pate Sablee ( bottom crust) preparation
1. Combine butter, salt, confectioners sugar and vanilla in a stand mixer with paddle attachment. Mix on a low speed till just about crumbly.
2. Beat in egg and half the flour, scrape down the sides of the bow.
3. Add the remaining flour and combine till fully incorporated.
4.Spread crust evenly with your hands across the bottom of a per-greased and parchment lined 8-inch cake pan.


Bake in the oven at 325 degrees F for about 20 to 25 minutes, until light golden and baked through.
Remove from oven an let cool completely.

Cheesecake batter  yields one 8 inch cheesecake
1 1/2 pounds of cream cheese
6 ounces of granulated sugar
1/4 fluid ounce of vanilla extract
1/4 fluid ounce strained fresh lemon juice
3 eggs

Cheesecake preparation
1. Grease the sides of your pan again
2.With the paddle on lowest speed,beat cream cheese smooth, stop mixer an scrape down bowl and beater.
3.With mixer running on the lowest speed, add sugar in a stream, stop and scrape.
4.Add vanilla, lemon juice and 1egg, mix only until absorbed.
5.Add the remaining eggs one at a time, scrape down bowl between each addition. Mix till well incorporated.
6. Take your pan with the pre-baked crust and start lining the bottom with the apple slices, start from the edges and worked in words until crust in completely covered.
7. Pour cheese cake batter in to the cake pan, then place the cheese cake in to a water bath. The water should come up to at least half way of the cake pan.
8. Bake at 325 degrees F for about 55 minutes or until light colored and firm except for the very center. 
9. 5 minutes before the bake time is up, slide the cheesecake out of the oven and liberally top it with the crumbs.
10. Wrap and cool for at least 3 hrs but is better if done overnight. 

Everyone said it was smooth, creamy, the richness was to die for, and the apples were crispy, tart from the lemon, and sweet from the apples themselves. The crust was delicious and with the apples it definitely added an extra dimension of flavor.
Apple Crumble Cheesecake


Apples cooking

Bottom Crust

Layered with apples

Cheesecake out of the oven


A slice from heaven

Happy Birthday Poppa!!

Friday, May 30, 2014

The Snow Ball Game!

It all started one day. Y'know one of those days were there is nothing on TV and you're just flipping through the channels then something catches your eye briefly. It was this Chinese chef in China in the middle of this green tea plantation. He was making this little dumplings he said his grandma use to make. I became interested after he said how simple they were.

They are essentially just rice flour and water. He used a little bit of brown sugar for his filling. Those brief moments planted the seed of an idea of a game and a way to put my own personal spin on it. We tried out the recipe twice before we came up with something that we believe people will enjoy.

The game is also pretty simple and fun.

The recipe is actually very easy and is a good way to get little kids and family involved in the kitchen.
Is not super sweet, it has a nice interesting texture and its gluten free. You can also find none nut pastes if you have nut allergies. 

Almond Paste Filled Rice Dumpling (AKA Snow Balls)

Ingredients:
- 1 cup rice flour (you can find it at your local grocery store under the Goya aisle) 
- 2 tsp of powder sugar
- 1/4 cup of water (For dough)
- 8 cups of water for boiling
- 5 whole cloves
- 2 cinnamon sticks
- 2 star anise
- 1 Tbsp granulated sugar
- 1 Green tea bag
- 1 Black tea bag 
- Almond paste
(The spices and teas can be changed to your personal liking.)

Procedure:
1. Brings 8 cups of water to boil with the spices, tea bags, and the granulated sugar.
2. Add the powder sugar to the rice flour and combine.
3. Slowly add in the water 1 Tbsp at a time. (Depending on the weather you might have to add more or less)
4. Gradually form a dough ball. Dough should be a little sticky but it should stay together. You might have to wet you hands and finger tips form time to time to avoid sticking.
5. Measure 6g of dough and lightly spread it out in the palm of your hand.
6. Place 3g of almond paste in the center of the dough and seal the dough around it and roll into a ball. Repeat as many time as necessary to use all the dough. 
7. Place dumplings into the boiling tea mixture and boil for about 4-5 min or until slightly translucent. 

They can be served warm or cool (it best served cool if you plan to add sprinkles), place in a bowl and dust with granulated sprinkles. It adds a nice hint color and texture. 

The Snow Ball Game

The winning "snow ball" next to the plain "snow ball"

Tea and spices

The dough

about the size you would want to spread the dough out

Almond paste in the center

All rolled up in to a cute little "snow ball"

The lucky "snow ball"

Snow balls before being boiled
The snow balls cooked and ready to be enjoyed.

The tea an spice mix after every thing has steeped. It makes your kitchen smell soo good!

This game is great for parties and holidays. All you have to do is dye some of the almond paste a different color, and whoever finds it first wins a prize. Some examples are, who ever finds the color snow ball gets to open up a Christmas present first or the first to light up a fire work or you can turn it into a more adult game. The possibilities are endless.

We really hope you like these nummy little dumplings and enjoy playing this simple fun game!

Saturday, May 24, 2014

Gluten Free Zucchini & Tomato Muffin (UPDATED)

Hey everyone!

We got a new Gluten Free muffin recipe. This time, this one is leaning towards the savory side. It took a second try to finally get the spices right, but I am content with the end result. I have to admit that I don't really make savory things. That's more of my partners expertise, that's why it took me a little longer to feel comfortable with it and feel confident enough to share it.

I hope everyone enjoys it.

Zucchini & Tomato Gluten Free Muffin      
 Yields: About 14 muffins   Temp: 350 degree F

Ingredients:
- 1/2 Cup Vegetable Oil
- 8 oz of sour cream/ plain Greek yogurt (UPDATED)
- 2 Eggs
- 2 Cups rice flour
- 1 Cup Zucchini, shredded
- 1/2 Cup tomato, seeded, small dice (UPDATED)
- 2 tsp baking soda
- 3 Tbsp tomato paste (UPDATED)
- 1/4 tsp salt
- 2 tsp lemon pepper
- 2 tsp garlic powder
- 2 tsp onion powder
- 1 Juice of one whole lemon (UPDATED)

Instructions:
1. Preheat oven.
2. Prepare muffin pan with liners and spray the liner with cooking spray to avoid sticking.
3. Combine all your dries together.
4. Combine all your wets together.
5. Combine the wets into dry, and beat until smooth.
6. Add your zucchini and tomatoes and combine until well incorporated.
7. Scoop batter into muffin tin and bake for 20 minutes or until tooth pick comes out clean.

Pares well with soups, chowders, and its a great vessel for soft cheeses.
Now, we actually had these this morning, toasted and with Chipotle cream cheese smeared on it. It was very yummy!

Thank you for reading. Don't forget to comment and share.

Also! If you changed anything about the recipe or have any suggestions please share with us. We love to hear feedback.

Buen Probecho!

UPDATE: This recipe will yield moister, and tastier muffins, less grainier texture.  Perfect for any time of the day or use as a side for a savory dish.

veggies and tomato paste

Dry ingredients added


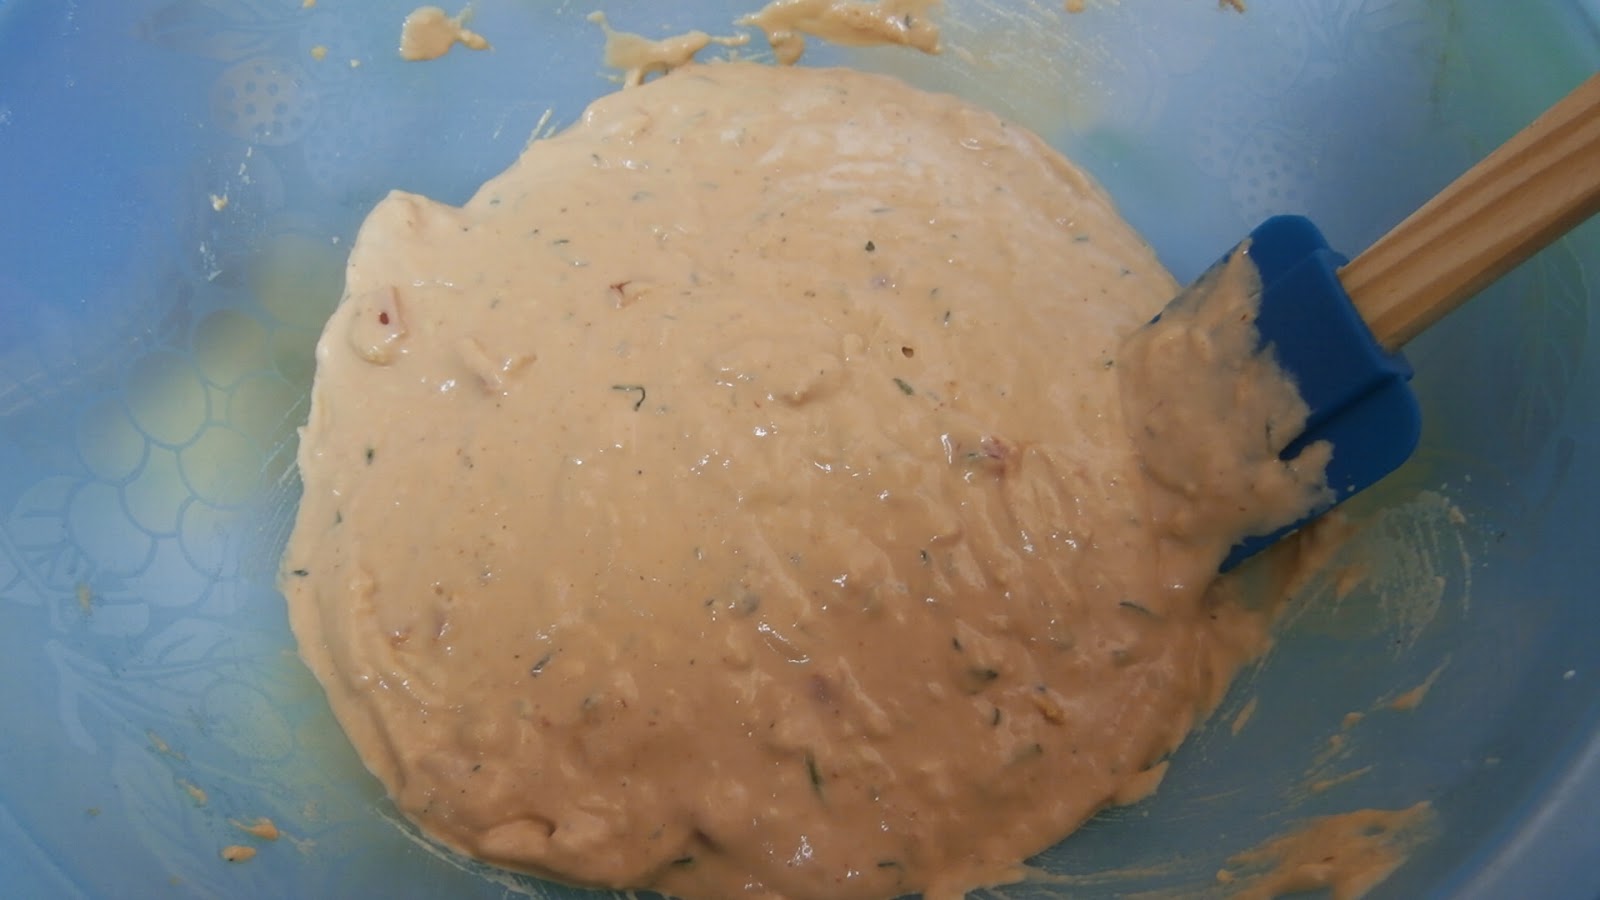
what the batter should like like when the wets are added


Sunday, May 18, 2014

Peach Crumble Muffin

Hey everyone!

I hope you like our new layout and find it easier to navigate/ find recipes. This recipe was made out of boredom and at the nagging of my mother to use a bag of frozen peaches. Personally, I am not a fan of frozen peaches. Some frozen fruits are okay like berries, but when it comes to peaches they just have a weirs tartness and no sweetness. So I really recommend the use of fresh peaches if possible if not can.

Other then that, the muffins came out pretty tasty.

Stuff you will need for this recipe:
1. Standard 12 cup cupcake pan
2. Cupcake liner
3. Stand kitchen mixer


Recipe: Peach Crumble Muffin       Yields: About 12     Preheat oven 350degree F

Ingredients:
-2 Cups all purpose flour
-1/2 Cup granulates sugar
-1/2 Cup light Brown sugar
-1/2 Cup of milk whole milk( 2% works just as well)
-1 stick unsalted butter, cut into sliced for better mixing
-2 L eggs
-2 tsp baking powder
-1/2 tsp salt
-2 tsp ground cinnamon
-1/2 tsp ground ginger
-1/8 tsp ground clove
-1/2 tsp vanilla Extract
-1 Cup of peaches, medium dice

Crumble:
-1 1/4 Cup all purpose flour
-3/4 stick of butter, cut into small pieces (6 Tbsp)
-1/4 Cup granulated sugar
-1/4 Cup light brown sugar

1. Mix all ingredients by hand until it forms a nice crumble texture.

Procedure:
1. Place the flour, baking powder, and spices in a bowl and set aside.
2. Add vanilla extract into milk and set aside.
3. Beat together the butter, salt, both sugars, and eggs until it becomes creamy.
4. Mix half of the flour mixture into the butter mixture, don't forget to scrape down your sides.
5. Add half the milk.
6. Add the remaining flour mixture, scrape down, then add the rest of the milk.
7.  Mix until well incorporated, then add  the 1 cup of peaches and mix for a few more seconds.
8. Add batter to pan then sprinkle crumble to the top. (About a Tbsp worth of crumble per muffin)
9. Bake for 30 Minutes or until center comes out clean with tooth pick.


Hope you guys enjoy it and don't hesitate to ask questions.
Please like and share!


Monday, May 5, 2014

Two for one Gluten Free Muffin Recipe! UPDATE

Happy Cinco de Mayo everyone.

Today, we have some super yummy gluten free recipes. This is the first time I've actually made gluten free products and I believe they came out pretty good. Gluten is a protein composite found in wheat (including kamut and spelt), barley, rye and triticale. Some people can't digest gluten, some just want to be healthy, and some just want to try something new.

I was asked to make gluten free products for a client, and honestly I was a bit nervous and skeptical since I personally have tried gluten free products and they were not as enjoyable...(Worst brownie I ever had in my life blarg).

Also I am a classically trained baker which uses more traditional products (sugar, whole milk, all purpose flour, ect.). I was afraid since I have never worked with rice flour before, I thought I would get bad tasting pancake like disks of sadness. But to my surprised they came out pretty sweet for being a first timer.

This are pretty low in calories and have natural sweeteners without adding granulated sugars.

First recipe: Spiced Carrot Cake Muffin   Yields 12 Muffins

Ingredients:

- 1 Cup White rice flour
- 1 tsp baking soda
- 1/4 Cup vegetable oil
- 1 tsp vanilla extract
- 1/3 Cup of honey
 -1 Egg
- 1/4 Cup grated carrot
- 1 Cup unsweetened  apple sauce
- 2 tsp ground cinnamon
- 1 tsp ground ginger
- 1/4 tsp ground clove

Procedure: (So simple) Preheat oven at 350 degree F

1. Add all your dries together.
2. Add all your wets together.
3. Using a hand mixer or a whisk, mix dries into wet until batter is smooth.
4. Place cupcake liners in your standard 12 piece cupcake pan and place one large spoonful of the batter in to each cup. If there is extra batter left, try to spread it out as equally as possible.
5. Bake for 15 minuets or till you the center is not jiggly.
Sorry for the lack of picture. I was so nervous that I forgot to take some.


Honestly this is one of the best "Carrot Cake" I've ever tasted. I think the clove is what gives the flavor that extra dimension.

Recipe # 2: Super! Lemon Muffins Yields 12 muffins (Updated)

Ingredients:

- 2 Cup White rice flour
- 2 tsp baking soda
- 1/2Cup vegetable oil
- 2 tsp vanilla extract
- 2/3 Cup of honey
 -2 Egg
- 10 oz High quality Greek yogurt  lemon flavor
- 2 whole lemon zest (About a tsp)
- 3 Tbsp of fresh lemon juice
-1 tsp lemon extract

Procedure: Preheat oven at 350 degree F

1. Add all your dries together.
2. Add all your wets together.
3. Using a hand mixer or a whisk, mix dries into wet until batter is smooth.
4. Place cupcake liners in your standard 12 piece cupcake pan and place one large spoonful of the batter in to each cup. If there is extra batter left try to spread it out as equally as possible.
5. Bake for 15 minuets or till you the center is not jiggly.
Updated version. We changed it because the other ones didn't rise as much. This came out more flavorful, moister, pealed off the wrapper better. The flavor was to die for. Perfect amount of sweetness.
This is from the first time we made them
Batter from first time
Updated Muffin


It was such a light natural lemony flavor that it did not over power your pallet. Light, moist, and a sponge cake like texture. Over all it was pretty good.

Tips: Might want to spray cupcake liners with a little bit of cooking spray. Since the rice flour is sticky, it sticks to the cupcake liner. Hope you enjoy and please if you try it and change a few things, share with us.

Gluten Free is not so bad after all.

Update: Before unfortunately because we couldn't find  the yogurt we wanted we used a lower quality, fat free yogurt that gave it that fake sugar flavor. Now they did come out amazing.

Please enjoy!!

Saturday, April 26, 2014

Chocolate Chip Fireball Bread Pudding

Hey every body Antoinette here!

With another yummy bread pudding recipe. In fact I like this recipe a bit more then our last one and I'll tell you why. This time we used Challah bread which is a sweet egg bread. The bread itself has honey in it which the yeast feast on and wallah! Beautiful, sweet bread that can be used for French toast, toasted with butter or as we did here, bread pudding.

First let me sing the praise's of bread puddings once more. Bread pudding is a relatively easy crowd pleasing dessert. It can be made with very basic ingredients that your average kitchen has. No odd spices or ingredients that you will probably only ever use once then be pushed to the back of your cabinet to never been seen again. It can be spiked with your favorite liquor/whiskey/rum or just with simple nonalcoholic  extracts. It's a great simple idea for a dinner party all you have to is prepare it beforehand and pop it in the oven before your first course and by the time you're done with your entree, it should be done and ready to be serve warm. No need to go all out with a cake or smancy fruit tart just serve your guest a nice warm ooey gooey plate of this stuff an I'm sure it will please.

 Custard Recipe
-16  fl Oz of whole or half an half
-4  Oz of sugar
-2 whole eggs
-4 egg yolks
-1 Tbsp of vanilla extract

1) Bring milk to a boil with the sugar
2) Whisk eggs and yolks in to a liquid in a large bowl
3) Whisk in boiling milk in a thin stream, this is to prevent cooking the eggs I would recommend to whisk for about 5 minutes
4) Strain in to a clean bowl and stir in vanilla extract

Bread Pudding Recipe
-2 Tbsp of FireBall whiskey (a very smooth cinnamon flavored whiskey) you can switch this out with your own personal favorite
-2 Fl Oz of melted unsalted butter
-Custard mix as seen above
-3 Oz of any style bread you prefer . We chose Challah for this recipe
-1/2 cup of semi sweet chocolate chips

1) Preheat oven to 300 degrees F
2) Cut bread in to small cubes and pour the melted butter over and mix to make sure the bread gets evenly coated
 3) Add the 2 tablespoon of the Fireball whiskey in to the custard mix and stir
4) Place the coasted bread in to the custard mix and let sit for about 10 minutes
5) Place  1/4 of the chocolate chips in a 6x6 baking tray
6) Add the bread mixture to the pan and place it in a water bath . Water should come up about 1/4 to half way of your baking tray.
7) Add the remaining 1/4 of the chocolate chips on top of the bread mixture ,then sprinkle some cinnamon sugar on top to taste
8) Place both in to the over for 45 minutes or till the custard has set.
9) Let rest for 5 to 10 minutes an serve warm or a scoop of ice cream on top.